Wiring the hub motor is an essential but approachable task for electric bike building. With proper preparation and connection techniques, anyone can competently configure motor power.
Assemble all required components - hub motor, controller, throttle, battery pack, and electrical tools. Understand basic circuitry principles and tool safety practices before proceeding hands-on.
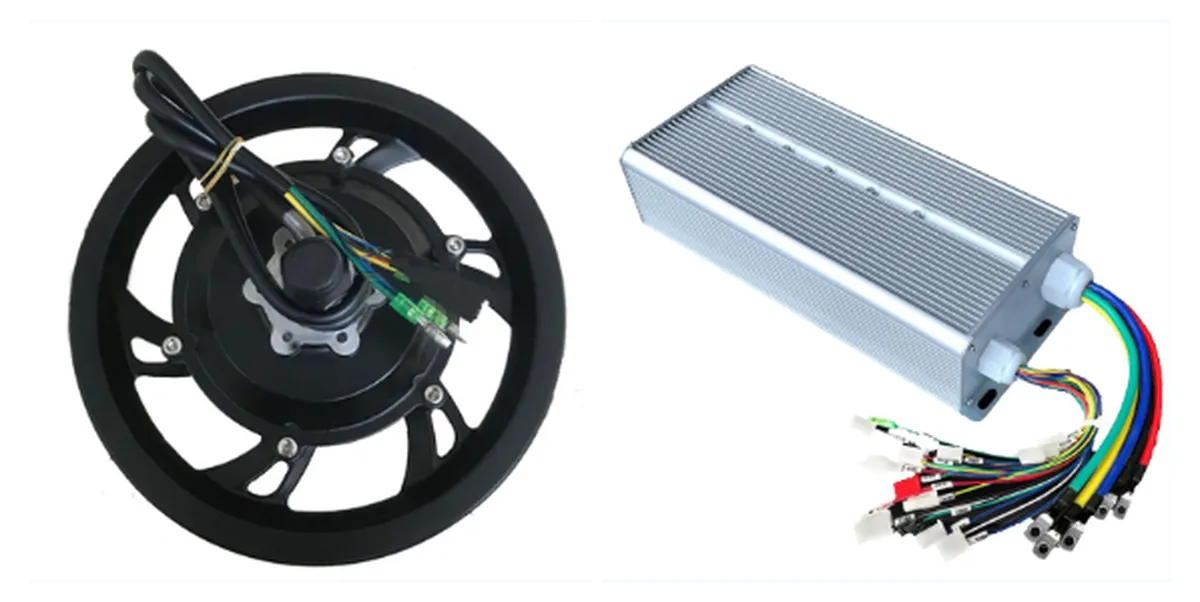
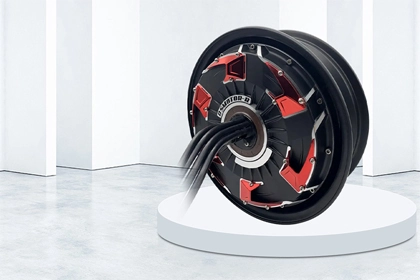
Remove the hub motor from the wheel and place securely on a stable work surface. Locate the three colored motor wires, usually labeled A, B, C, exiting the shell. Inspect for damage and clean connections.
Identify paired wire colors from controller to motor. Use a wire stripper to carefully expose a 1/4 inch of copper on each. Solder matching motor/controller wire pairs together, then cover the joint and several inches down each wire with heat shrink tubing. Repeat for all motor wire connections.
Locate throttle wires and follow identical soldering and heat shrink process, pairing correct throttle wires to designated controller ports. Test throttle movement before securing.
Identify positive and negative battery leads. Solder and insulate battery wire connections to the controller's power terminals. Confirm battery pack voltage matches controller specifications.
Thoroughly wrap soldered joints and exposed copper with multi-layer electrical tape for insulation, flex resistance, and abrasion protection. Replace housing bolts and reinstall motor smoothly into the wheel.
Proceed with care, double checking all circuits for secure connections before initial motor tests. With meticulous preparation and installation practices, onboarding your own hub motor can be a rewarding experience.


Leave A Comment